October 30, 2026
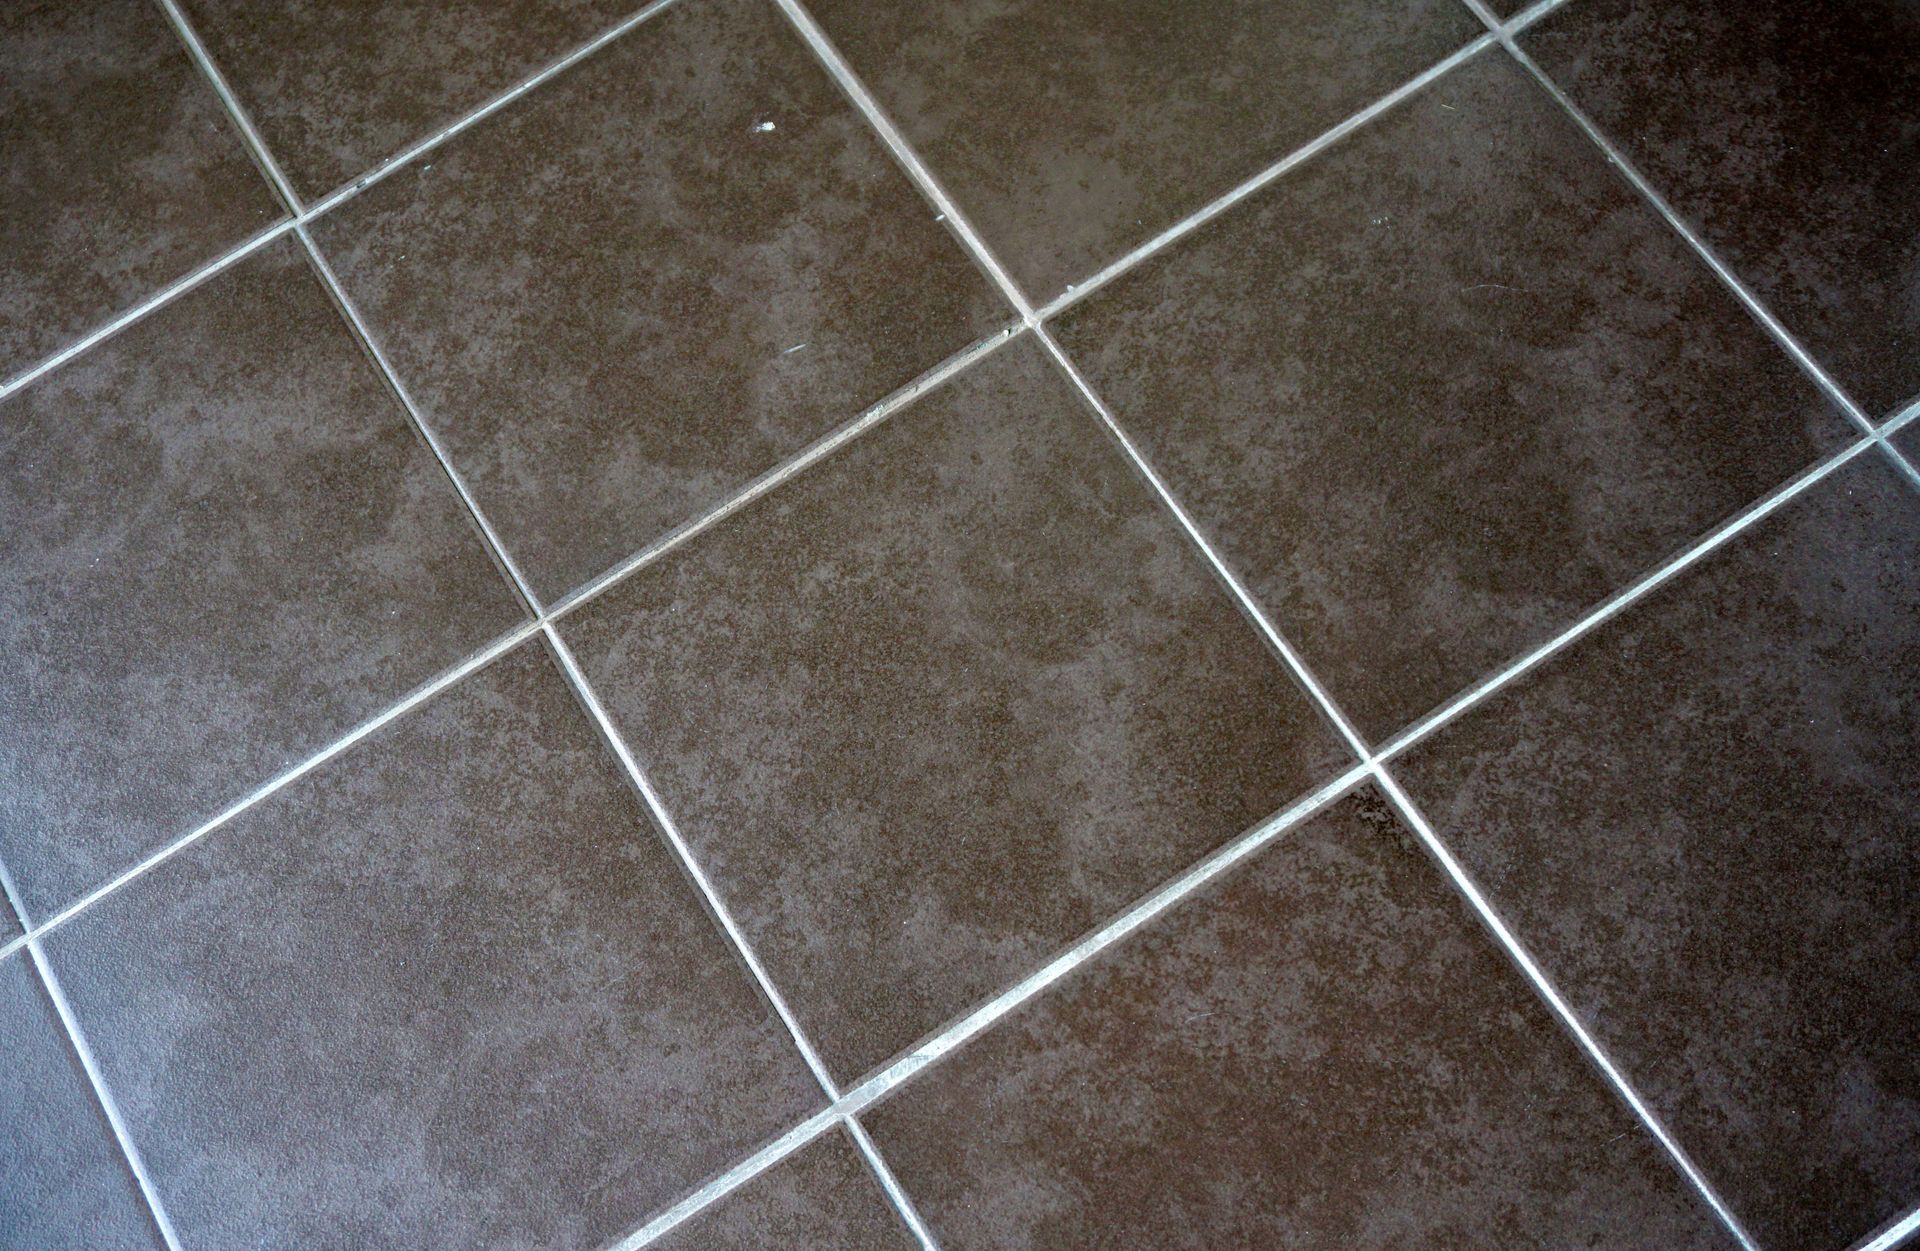
Damaged grout can make tile floors look worn and allow moisture to seep beneath the surface. Cracks, gaps, and discoloration can contribute to loose tiles, mold growth, and costly water damage when left untreated. Understanding how grout deteriorates and how to restore it helps property owners protect their flooring. From removing damaged material to applying protective sealants, proper maintenance supports the long-term performance of tiled surfaces.
Understanding Grout and Its Role in Tile Systems
Recognizing the Purpose of Grout
Grout fills the joints between tiles, creating a finished appearance and preventing debris from collecting in narrow spaces. Although it is not the primary adhesive holding tiles in place, grout contributes to the durability of a tile system. When it deteriorates, gaps may allow moisture and contaminants to reach the underlying layers.
Choosing the Right Grout Type
Sanded and unsanded grout serve different purposes. Sanded grout contains fine sand that adds strength and suits wider joints, particularly on flooring. Unsanded grout generally works better for narrower joints and delicate tiles that could be scratched by abrasive particles. Choosing the appropriate material depends on joint width, tile type, and installation location.
Identifying Common Causes of Deterioration
Moisture, heavy foot traffic, improper installation, and unsuitable cleaning products can contribute to grout damage. Repeated water exposure may weaken certain grout formulations, while abrasive cleaners can gradually wear down the surface. Structural movement or shifting tiles can also cause cracks. Identifying the underlying problem helps prevent recurring damage.
Recognizing the Warning Signs
Visible cracks, missing sections, crumbling material, and persistent discoloration indicate that grout may need attention. Loose tiles or dampness near tiled areas can signal more extensive problems. Regular inspections help property owners identify damage before moisture reaches vulnerable building materials.
Selecting the Right Materials and Repair Tools
Preparing for Safe Grout Removal
Successful grout repair begins with tools suited to the damaged area. Manual grout saws offer control for small projects, while oscillating tools can help with larger sections. Work carefully to avoid chipping tiles or damaging waterproofing layers. Safety glasses, gloves, and a suitable dust mask provide protection during removal.
Choosing Compatible Grout and Sealants
New grout should match the installation's joint width, location, and moisture exposure. Color also matters when repairing only part of a floor. A compatible sealant can help reduce staining and moisture absorption when recommended by the manufacturer. Following product instructions supports a consistent, durable finish.
Using Appropriate Application Accessories
A rubber grout float distributes material evenly, while sponges and clean cloths help remove excess grout. Suitable mixing tools promote consistent texture, and small brushes help clean joints before application. Organized work areas also reduce the risk of introducing dirt into fresh grout.
Following the Essential Grout Repair Process
Preparing the Tile Surface
Remove furniture and obstacles, then clean the tiles and joints to eliminate grease, dust, and loose debris. Allow the area to dry according to the manufacturer's instructions. Inspect tiles for movement or damage before beginning. If the underlying surface is unstable, address that issue before replacing the grout.
Removing Damaged Grout Thoroughly
Carefully remove cracked, loose, or deteriorated grout without damaging surrounding tiles. Brush or vacuum away debris so the replacement material has a clean surface for bonding. Leaving weakened material behind can compromise the repair and increase the likelihood of recurring problems.
Mixing and Applying Replacement Material
Prepare the new grout according to the manufacturer's mixing instructions. Inconsistent proportions can affect strength and color. Spread the material with a suitable float, pressing it into the joints to minimize gaps. Remove excess grout with an appropriate sponge, avoiding excessive water that could weaken the mixture or create uneven coloring.
Cleaning and Finishing the Surface
Follow product instructions for cleaning, curing, and polishing. A dry cloth can help remove remaining haze once the grout reaches the appropriate stage. Inspect the finished joints for gaps and uneven areas, then protect the surface from moisture and foot traffic during curing.
Addressing Persistent Grout Problems
Removing Mold and Mildew
Mold and mildew can develop in damp bathrooms, kitchens, and other moisture-prone areas. Clean affected grout with a product suitable for the materials, following safety directions. Never mix bleach with ammonia or acidic cleaners. If discoloration returns, investigate ventilation problems, plumbing leaks, or water penetration instead of repeatedly treating the surface.
Repairing Deep Cracks and Uneven Tiles
Deep cracks may indicate structural movement or an unstable substrate. Determine whether the tiles or the underlying surface need attention before replacing the grout. Loose or uneven tiles may require resetting to create a stable installation. Applying new grout over a moving surface rarely produces lasting results.
Correcting Stains and Discoloration
Stains can result from spills, soap residue, mineral deposits, or unsuitable cleaning products. Start with a cleaner designed for the specific tile and grout type. Grout colorants may create a more uniform appearance when cleaning alone cannot resolve discoloration. Ensure the surface is properly prepared before applying colorants or sealants.
Maintaining Grout to Prevent Water Damage
Establishing a Consistent Cleaning Routine
Routine cleaning removes dirt and residue before they become difficult to eliminate. Use suitable cleaners and soft brushes to protect grout. In bathrooms, remove standing water when practical and allow surfaces to dry between uses. Avoid harsh chemicals that can damage grout or surrounding finishes.
Protecting Joints Against Moisture
Sealing appropriate grout products can reduce water absorption and staining, but sealant cannot replace proper waterproofing. Inspect caulked joints around tubs, showers, and counters because these transitions often require flexible sealant rather than grout. Repair plumbing leaks promptly and investigate recurring dampness to prevent damage beneath tiled surfaces.
Adapting Maintenance to Traffic and Use
Entryways, kitchens, and commercial spaces experience more wear than lightly used rooms. Place suitable mats in high-traffic areas, clean spills promptly, and inspect heavily used joints regularly. Monitoring grout condition makes it easier to schedule repairs before minor defects spread.
Evaluating Professional Services and DIY Solutions
Understanding the Limits of DIY Repairs
Small areas of damaged grout may be manageable for homeowners with appropriate tools and materials. However, incorrect mixing, inadequate preparation, or careless removal can produce weak joints and uneven finishes. Larger projects also require considerable time and attention. Evaluate whether the damage involves only the grout or a more extensive underlying issue before starting.
Recognizing When Professional Help Is Needed
Professional assistance is valuable when cracks repeatedly return, tiles move, water damage is suspected, or mold persists despite cleaning. Experienced technicians can assess the affected area, identify possible causes, and recommend appropriate solutions. Professional grout repair may include removing deteriorated material, restoring joints, and recommending maintenance practices suited to the installation.
Considering Long-Term Value
Repair decisions should account for material costs, labor, damage severity, and potential future expenses. According to LinkedIn, the United States grout repair services market is projected to reach an estimated value of approximately USD 1.2 billion in 2024. Property owners should prioritize solutions that protect tile installations and address moisture concerns. Although professional services may require a larger initial investment, appropriate repairs can help reduce recurring costs.
Maintaining healthy grout protects tile surfaces and the materials beneath them. Regular inspections, suitable cleaning products, timely grout repair, and moisture control help extend flooring life. Addressing damaged joints early can prevent moisture intrusion and reduce the risk of costly restoration. Contact The Groutsmith of Nashville to discuss your tile and grout concerns and explore professional solutions that restore your surfaces while helping prevent water damage.